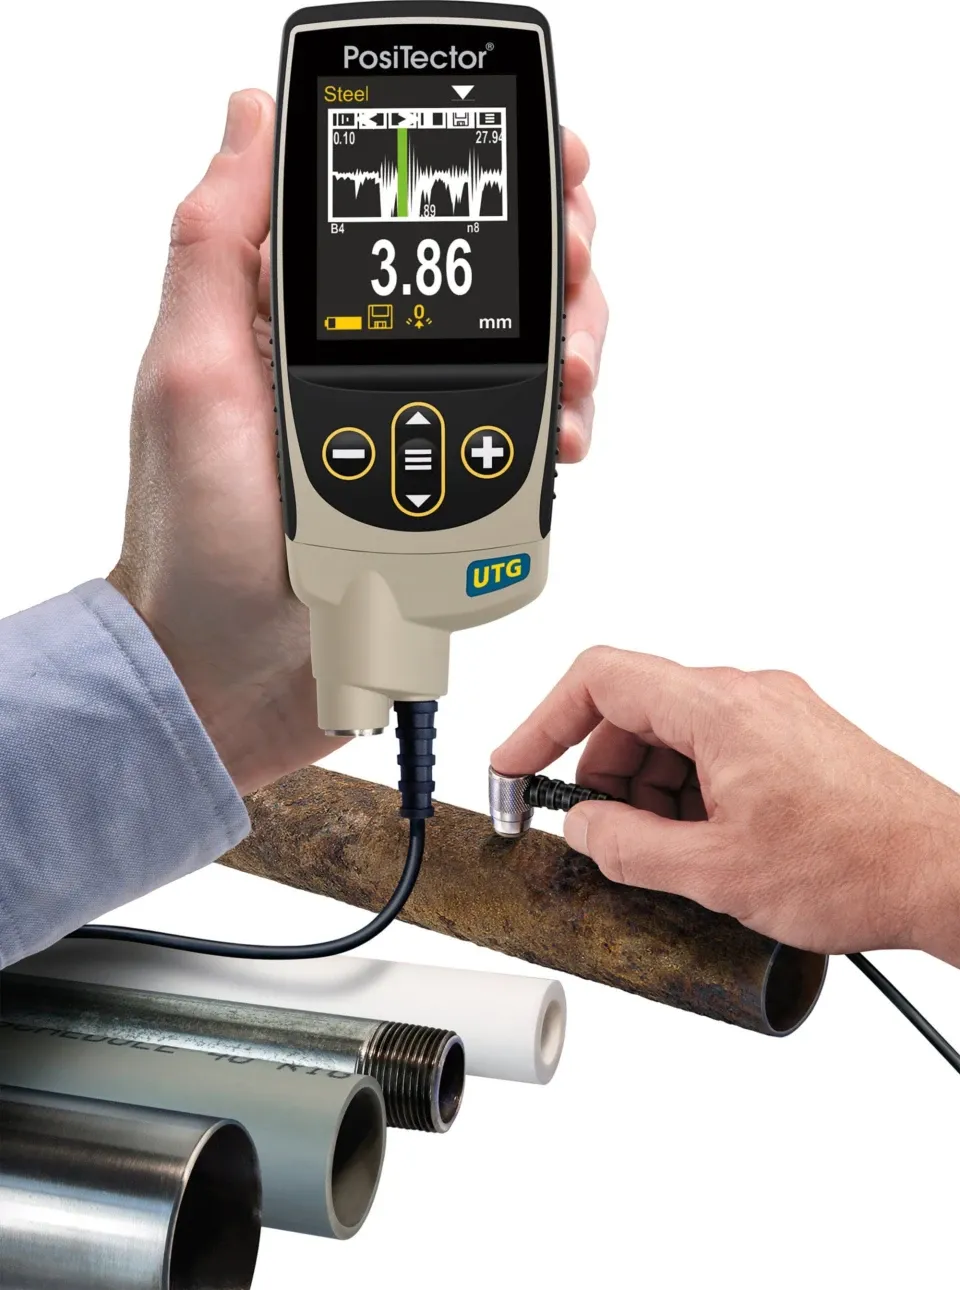
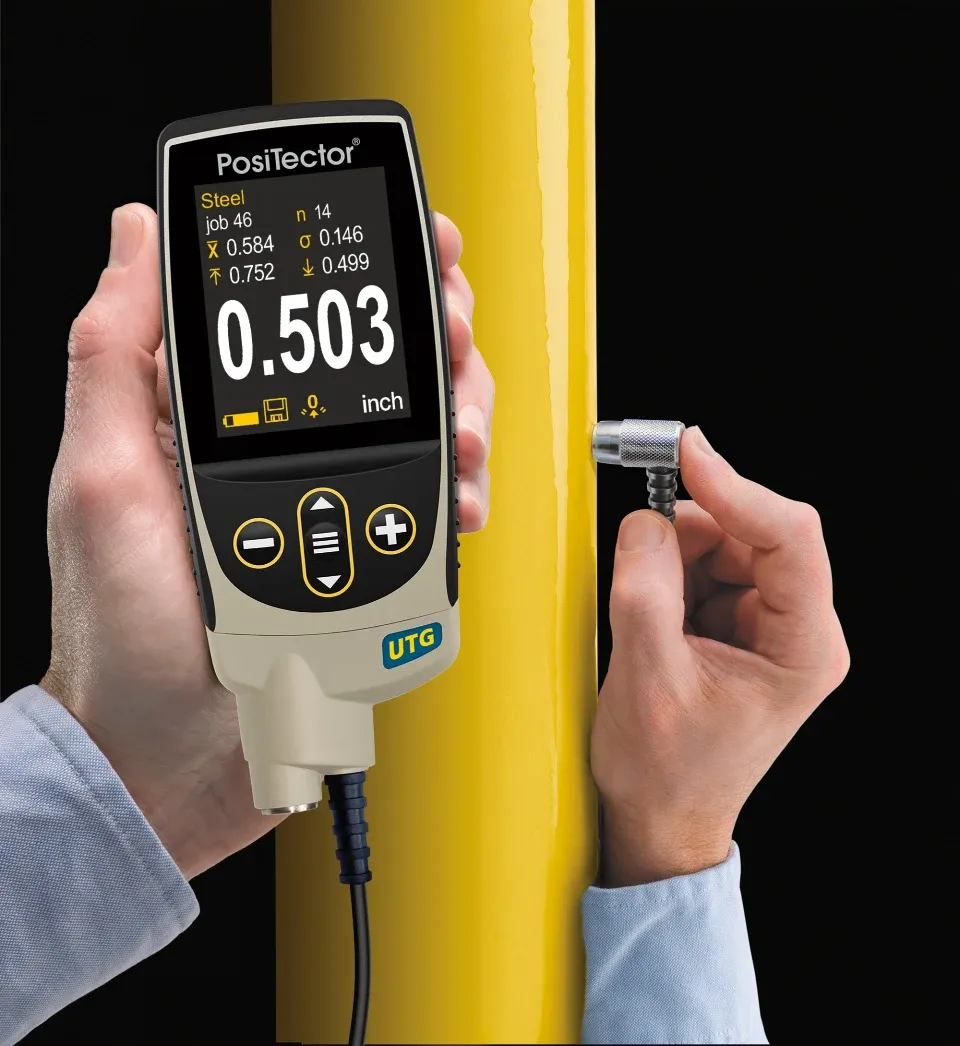
Measuring the wall thickness with the ultrasonic wall thickness gauge PosiTector UTG
Why do you need an ultrasonic wall thickness gauge?
Areas of application for ultrasonic wall thickness gauges
Ultrasonic Wall Thickness Gauges (Ultrasonic Thickness Gauges, Ultrasonic Wall Thickness Gauges) measure the wall thickness of materials like steel, plastic and more using ultrasound. Ultrasonic wall thickness gauges are ideal for measuring the effects of corrosion or erosion on tanks, pipes or any structure where access is limited to one side. Multiple Echo Thru Paint models like the PosiTector UTG M measure the metal thickness of a painted structure without the need to remove the coating.
What exactly is ultrasonic wall thickness measurement?
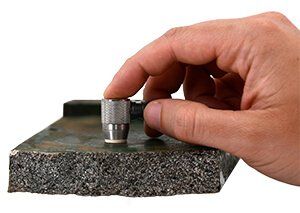
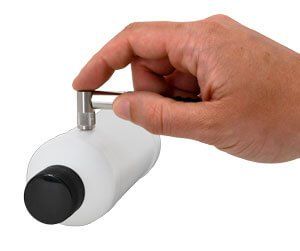
Ultrasonic thickness gages are used to measure a wide range of substrates and applications for material thickness loss due to corrosion or erosion. Ultrasonic thickness gauges are designed to measure the thickness of metallic (cast iron, steel, and aluminum) and non-metallic substrates (ceramic, plastic, and glass) and other ultrasonic waveguides that have relatively parallel top and bottom surfaces.
An ultrasonic thickness gauge makes it easy to quickly check the thickness of large metallic structures at small measuring intervals and provides a detailed representation of the thickness of a scanned surface. When access is only possible from one side of the substrate, ultrasonic wall thickness measurement is the most efficient method for monitoring the effects of erosion or corrosion and is essential for both quality assurance and quality control.
Ultrasonic Wall Thickness Gauges for measuring the effects of corrosion - PosiTector UTG C-Series
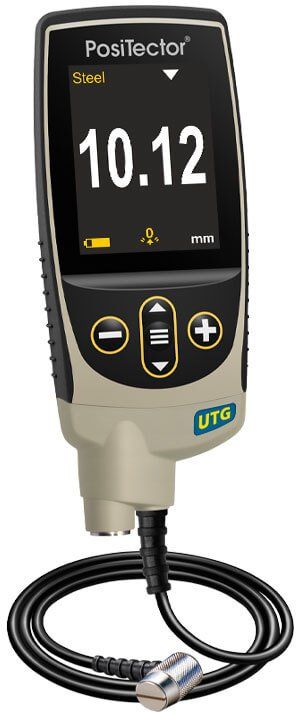
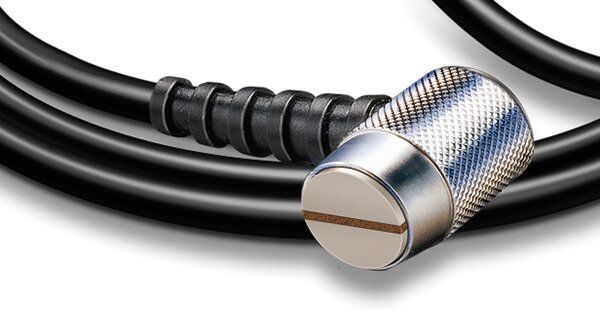
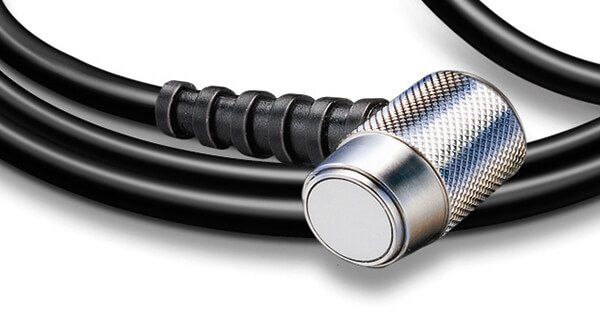
PosiTector UTG-C corrosion probes measure the wall thickness of materials like steel, plastic and more. Ultrasonic thickness gauges like these are ideal for measuring the effects of corrosion or erosion on tanks, pipes or any structure where access is difficult or limited to one side.
- 5MHz Dual Element TransducersOur most popular ultrasonic thickness probes for measuring the effects of corrosion on steel substratesChoose from corded, integrated, and Xtreme probes
PosiTector UTG M Wall thickness gauge measuring through the paint layer
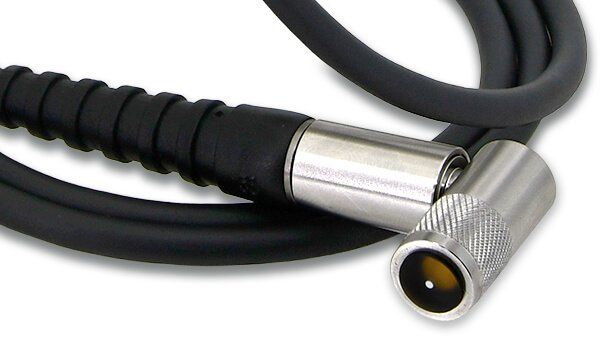
Our ultrasonic wall thickness gauge UTG M has a so-called thru-paint function, with which the metal thickness of a painted structure can be measured quickly and accurately through the paint layer without having to remove the coating. Also ideal for measuring blasted materials and other applications that require an extra durable probe surface.
- 5 MHz contact probe with wear-resistant aluminum oxide probe tip and tethered probeMultiple-echo technology averages 3 or more echoes for accurate and most reliable measurementsSwitch between single and multiple-echo modesMultiple-echo mode eliminates layer thicknessSingle-echo mode detects pits/ error and increases the measuring range
PosiTector UTG CLF Ultrasonic wall thickness gauge for cast iron, cast aluminum etc.
Low frequency ultrasonic thickness probes measure the wall thickness of damping materials such as cast/ductile iron, cast aluminum and cast zinc.
- Low-frequency 2.25MHz dual-element transducer with wired probeProprietary algorithm distinguishes backwall reflections from grain noise (reflections) found in cast materialsIdeal for measuring damping materials such as cast iron
PosiTector UTG P Ultrasonic Wall Thickness Gauge for thin materials such as metals and plastics
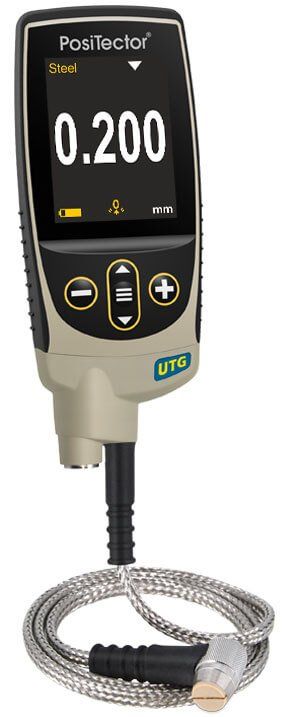
Precision Ultrasonic Thickness Gauges are designed for high-resolution measurements and thin materials such as metals and plastics. The automatic multi-echo mode ensures the best accuracy on thin metals.
- 15MHz single element delay line transducer with wired probeAutomatic single or multiple echo mode depending on material thicknessAutomatic probe tip temperature compensationIdeal for through-the-paint applications to quickly and accurately measure the metal thickness of a painted structure without having to remove the coatingPrecision probe ideal for thin materialsMinimal Steel measuring range: 0.2 mm Minimum plastic measuring range: 0.125 mm
Function of ultrasonic wall thickness gauges
Possible wall thickness measurement scenarios with ultrasonic wall thickness gauges
Erosion
Erosion is the process by which a protective coating or substrate is eroded by friction resulting from repeated mechanical interaction. Typical causes of erosion are cavitation, impact of liquid or solid particles and relative movements against touching solid surfaces or liquids.
Corrosion
Corrosion is the process by which a substrate and its properties are damaged or eroded by a chemical action or change. In metals, most of the deterioration due to corrosion is caused by an oxidation process.
Erosion and corrosion tests
Using non-destructive testing methods minimizes safety concerns, ensures regulatory compliance, and reduces the frequency of major repairs (and therefore costs). For example, in marine applications there is a significant risk of catastrophic failure of the substrate due to undetected corrosion or erosion. However, the consequences associated with corrosion or erosion damage can be much more subtle. Consider the case of a propeller blade that is worn or damaged. A likely effect is a reduction in propeller efficiency, which translates directly to a reduction in performance and an increase in turbulence (vibration). This leads to a reduction in top speed and an increase in fuel consumption. In addition, the cavitation caused by the damaged propeller creates an environment that is even more damaging to the propeller itself.
For more information on ultrasonic wall thickness measurement, see the article "Measuring the Effects of Erosion and Corrosion".
What are the areas of application for ultrasonic thickness measurement?
Ultrasonic Coating Thickness Gauges provide an accurate measurement of the remaining wall thickness of a substrate on a pipe, pressure vessel, storage tank, boiler, or other device prone to erosion or corrosion.
While many industries are affected by erosion and corrosion, the maritime atmosphere is one of the most aggressive corrosive environments. Corrosion rate is affected by various factors such as seawater, humidity, wind, temperature, air pollution and biological organisms. Erosion is also common in shipping due to abrasion from the impact of water and contaminant particles, impact from turbulence in fast-flowing liquids, and cavitation from pressure waves generated by air bubbles. Erosion not only affects the substrate itself, but can also damage protective coatings, increasing the likelihood of substrate corrosion. Ships, marinas, pipelines, offshore structures and desalination plants are all systems subject to varying degrees of marine erosion and corrosion.
What are the differences between the PosiTector UTG C, PosiTector UTG M and PosiTector UTG P probes?
The PosiTector UTG C Ultrasonic Probe (Corrosion) uses a dual element transducer, collimated "V-path" and V-path compensation to accurately measure the thickness of metals with severe corrosion or pitting. The UTG C Single Echo Probe does not ignore the thickness of the outer coating: for optimal measurement accuracy it may be necessary to remove the coating at the measurement point.
The PosiTector UTG M Ultrasonic Coating Thickness Probe (Multi-Echo) uses a single element transducer to accurately measure the metal thickness of a new or lightly corroded structure, ignoring the thickness of protective coatings. The ultrasonic beam travels in a straight path toward the back wall of the material at 90° to the surface. When three consecutive backwall echoes are detected, the sonde performs a time-based calculation to eliminate the layer thickness from the reading.
The PosiTector UTG P Ultrasonic Film Thickness Probe (Precision) uses a single-element delay-line transducer to accurately measure the thickness of thin materials, including plastics and metals. Depending on the material and thickness, it automatically switches between single-echo and multiple-echo modes.
Ultrasonic Material Velocity
What are some common material speeds?
The table below lists the ultrasonic longitudinal wave velocities of some common materials typically measured with ultrasonic thickness gauges. Specific material velocities may vary due to temperature, composition, grit and other factors. For best accuracy, check the velocity on a sample of known thickness.
PosiTector UTG - Pre-programmed speeds
Choose from a list of pre-programmed common material speeds or simply enter your own.
| material speed | minimum range* | Maximum range* |
|---|
| Material (Menüoption) | m/s | mm | mm |
|---|---|---|---|
| Eisen (Iron) | 4547 | 1,02 | 96,52 |
| SS 303 (SS303) | 5664 | 1,02 | 127,00 |
| STAHL1018 (Steel) | 5918 | 1,02 | 127,00 |
| ALU 2024 (Alum) | 6375 | 1,27 | 127,00 |
| PLEXIGLAS (Plexi) | 2692 | 1,02 | 50,80 |
| PVC (PVC) | 2388 | 0,89 | 50,80 |
| POLYSTYRENE (Poly) | 2057 | 0,89 | 50,80 |
* The range may change depending on surface roughness, temperature or material properties.
Functional principle of ultrasonic wall thickness gauges
PosiTector UTG ultrasonic thickness gauges send an ultrasonic pulse into the material to be measured. This impulse travels through the material to the other side. When it hits an interface such as air (backplane) or another material, the pulse is reflected back to the probe. The time it takes for the impulse to propagate through the material is measured by the ultrasonic wall thickness gauge and is shown below as t1 and t2.
Single echo probes
PosiTector UTG C single-echo probes feature a two-element transducer with automatic V-path compensation. Thickness is determined by measuring t1 (uncoated) or t2 (coated), dividing by two and then multiplying by the speed of sound for that material (steel). See Figure 1 below.
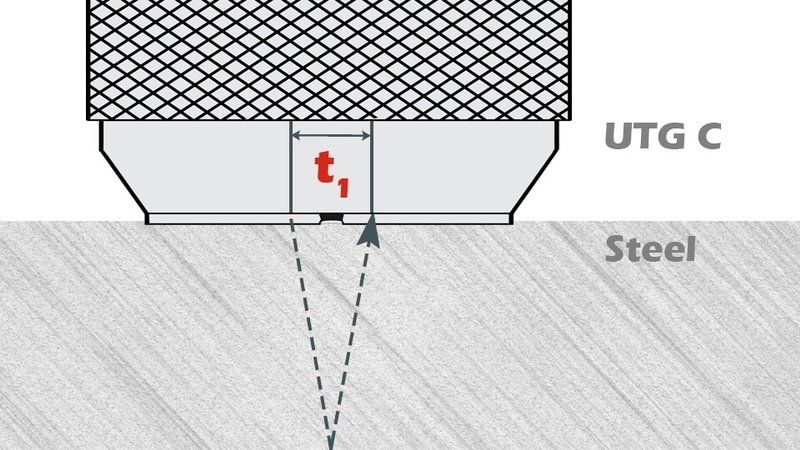
illustration 1
For uncoated materials, t1 is directly related to material thickness.
When a material is coated, the propagation time increases and is given as t2 at the top of the right animation.
coatings such as As paint, have a lower speed of sound than metal. Therefore, the single-echo method gives a thickness result that is greater than the actual thickness of the coating and metal combined. The result will contain a much higher, unknown value of paint thickness. Therefore, it is not easy to measure the thickness of the paint and subtract it from the result of the single-echo measurement.
Multi-Echo
PosiTector UTG M and UTG P ultrasonic wall thickness probes in multi-echo mode determine thickness by measuring the time between at least three consecutive back wall echoes.
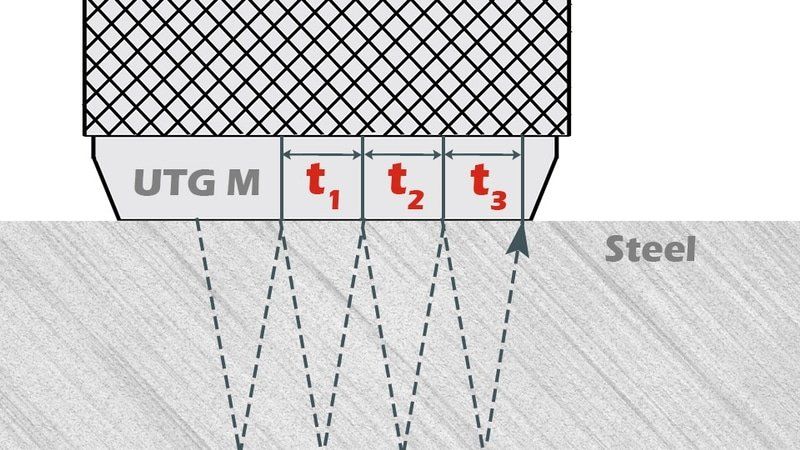
Figure 2
In Figure 2 above, in multiple echo mode, only the time between echoes is measured. Regardless of whether the steel is coated or not, all times between echoes are the same. In multiple echo mode, the thickness gauge determines thickness by measuring t1 t2 t3, dividing those values by six, and then multiplying by the speed of sound for that material. The resulting gauge thickness calculation is therefore an accurate measurement of steel thickness only, without considering layer thickness.
The speed of sound is measured in inches per microsecond or meters per second. It is different for all materials. For example, sound travels faster through steel (~0.233 in/µs) than through plastic (~0.086 in/µs).


